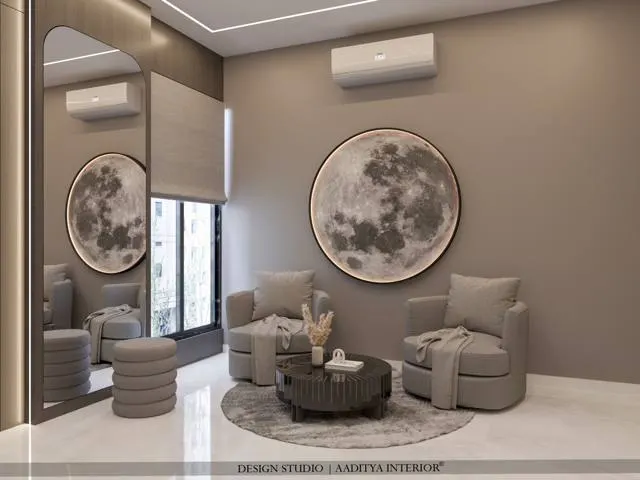
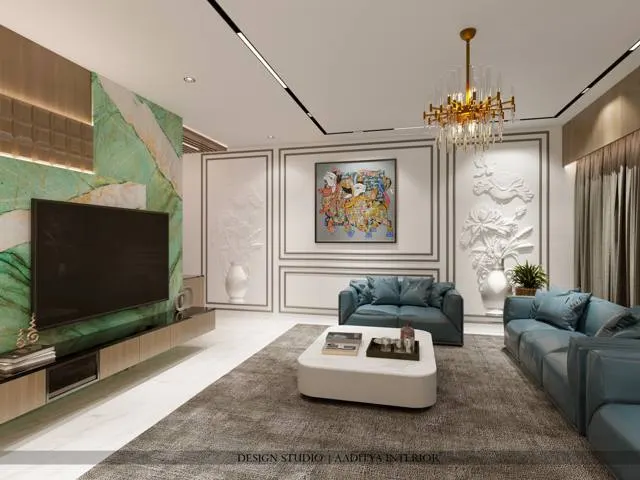
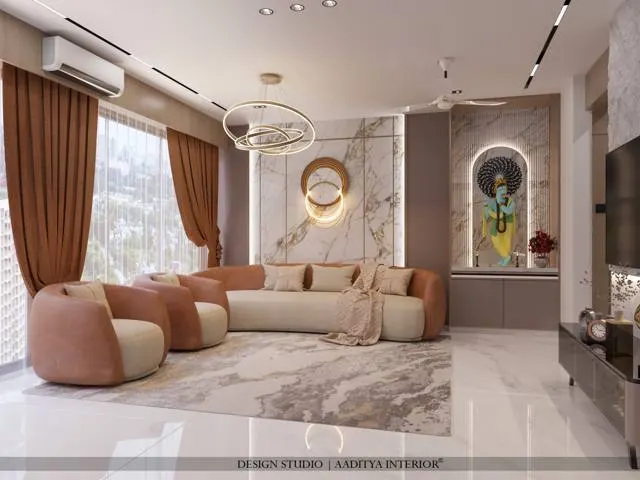
Most disappointments in Indian interior projects do not start on site. They start in a showroom, under bright white tube lights, when a client picks a laminate from a 50 mm chip, or in a WhatsApp chat, when a dozen Pinterest images from five different styles are forwarded as "the look we want". Weeks later the wardrobe is installed, the floor is laid, and the room feels nothing like the pictures. Nobody lied and nobody was careless; the decision was simply made with the wrong tool.
Two tools exist precisely to prevent this, and they are often confused. A moodboard is a curated composition of images, colours and textures that fixes the feeling and direction of a space before any drawing is made. A material board — also called a sample board, finishes board or material palette — is a physical or digital assembly of the actual products that will be used: the specific laminate code, the stone, the paint shade, the fabric, the hardware finish. One answers "what should this home feel like?" The other answers "exactly what will it be made of?" Both questions matter.
This article explains both in the practical terms of an Indian project: where each fits in the design process, how a good one is put together, what sizes the samples should be, how to view them under realistic light, what to sign off, and what it typically costs. It is written for homeowners hiring a designer and for young designers building their own process.
Where moodboards came from
Designers have always assembled references before committing to a scheme. Textile and fashion designers pinned fabric swatches beside sketches; architects kept sample cabinets of stone, timber and brick; set designers for film and theatre built reference walls of photographs and colour cuttings. The modern interior moodboard grew out of these habits in the second half of the twentieth century, when colour printing and magazines made it easy to cut out images and paste them on to card. The physical sample board of the same era was simply the specification made visible: a rigid board with real pieces of the chosen materials glued on, labelled and presented to the client.
In India the practice was for a long time informal. Carpenters and contractors worked from catalogue numbers, and the "material selection" was a trip to a laminate gallery or a stone yard with the client. As professional interior design grew from the 1990s onwards, and as laminate, tile and fabric brands began issuing sample folders and swatch books, the sample board became a standard deliverable in organised studios. The digital moodboard arrived with image-sharing platforms, and the most recent shift is the AI-generated mood image — useful for exploring directions quickly, but not a replacement for real samples.
The method has changed; the purpose has not. A board exists to make a decision visible before money is spent. Every rule in the rest of this article follows from that one idea.
Moodboard and material board: the real difference
The two boards are often presented together, and many clients use the words interchangeably. They are different tools for different stages, and asking for the right one at the right time saves weeks. A moodboard is about intent: it tells the designer and client that they agree on direction — warm or cool, minimal or layered, matte or glossy, modern Indian or international. It deliberately uses images of other spaces and other objects, because it is collecting qualities, not products. A material board is about commitment: every item on it should be something that can be ordered, with a brand, code, finish and price attached.
| Aspect | Moodboard | Material board |
|---|---|---|
| Question it answers | What should the space feel like? | Exactly what will it be made of? |
| Stage | Concept, after the brief and before layouts are final | Design development, after layouts and before ordering |
| Contents | Photographs, colour fields, textures, objects, art, light references | Real samples or exact product images with codes |
| Format | Digital page or printed sheet; one per room or one per home | Physical board or tray, plus a digital schedule |
| Precision | Approximate — 'warm oak tone', 'soft white' | Exact — brand, code, finish, thickness, supplier |
| What a client approves | A direction and a colour family | Specific products that will be purchased |
| What goes wrong without it | Mixed styles, a home that feels like five different Pinterest boards | Wrong shade, wrong texture, mismatched woods, ordering errors |
A useful test: if a contractor could place an order from the board, it is a material board. If he could not — because it shows a hotel lobby in Bali or a cushion in a magazine — it is a moodboard. Both are valuable, and a professional process uses both, one after the other.
Where the boards fit in the design process
The boards are not decorations added at the end of a presentation. Each one closes a stage and opens the next. When they are skipped or merged, the decisions they were meant to settle get made later, on site, under pressure — which is the most expensive place to make them.
Stage 1 — the brief and the moodboard
After the first meeting and site measurement, the designer translates the brief into one or two moodboard directions. Two is better than one, because a client who sees only one option can only say yes or no; a client who sees two can say "more of this, less of that", which is far more useful. At this stage the boards should already respect the realities of the home: a north-lit Surat apartment with 2750 mm ceilings will not look like a double-height villa in Goa, however beautiful the reference image.
Stage 2 — layouts and 3D, informed by the moodboard
Once a direction is approved, space planning and 3D views follow. The approved moodboard guides the renders, but the renders should not invent materials the client has never seen. Good studios begin shortlisting real samples during this stage so that the textures used in 3D are the ones that will actually be bought.
Stage 3 — the material board and final approval
When layouts are frozen, the material board turns the direction into products. Each sample is labelled, each code is recorded in a finishes schedule, and the client signs both. Only then are good-for-construction drawings issued and orders placed. The approved physical samples should be kept — at the studio, or in a labelled box on site — because they are the reference against which every delivered sheet, tile and fabric roll is checked.
How to build a moodboard that actually gives direction
A moodboard fails when it is a collection of things the client likes rather than a statement of what the home should be. Twenty beautiful pictures of different rooms tell a designer almost nothing; eight carefully chosen images with a clear thread tell him almost everything. The strongest moodboards share five features.
- One idea, stated in words at the top — for example 'warm, calm, Indian modern: oak, lime white, brass and handloom' — so every image can be checked against it.
- A limited colour family drawn out as flat swatches, usually three to five colours including the neutral base, not just implied in photographs.
- Texture references — woven, grained, honed, fluted, lime-washed — because texture changes the feel of a room as much as colour.
- A light reference: is the home meant to feel bright and airy, or warm and low-lit at night? Lighting temperature decisions start here.
- At least one 'not this' image, which saves hours: showing the gloss, the colour or the clutter the client wants to avoid is often more useful than another favourite.
Designers should also read the images carefully with the client. A photograph of a beautiful living room may be liked for its rug, its daylight, its ceiling height or its single statue — and the client may not know which. Asking "what exactly do you like here?" for each image is the single most valuable conversation in the concept stage. The answers become the real brief.
The material board: samples, sizes and labels
The single biggest cause of material disappointment is sample size. A 50 × 50 mm laminate chip or a 75 mm paint card is useful for narrowing a choice from a hundred to five, but it cannot show how a colour behaves over a 2.4 m wide wardrobe, how a wood grain repeats, or how a stone's veining changes across a slab. Colour also appears stronger over large areas than on small chips, an effect designers and paint manufacturers routinely warn about. The table below gives practical minimum sizes for the final decision.
| Material | Shortlisting sample | Minimum size for final approval | Why |
|---|---|---|---|
| Laminate / veneer | Catalogue chip ≈ 50 × 75 mm | A4 (297 × 210 mm) or a half sheet viewed on site | Grain repeat and colour depth only read at size |
| Paint | Shade card swatch | Patch of at least 600 × 600 mm on the actual wall, two coats | Colours read lighter or stronger over large areas |
| Natural stone | Polished tile ≈ 300 × 300 mm | Visit the yard and see the actual slabs or lot | Veining varies slab to slab; a sample is only indicative |
| Vitrified / ceramic tile | One tile | Three to four tiles laid together with grout | Face variation and grout colour change the look |
| Fabric (curtain, upholstery) | Swatch ≈ 100 × 100 mm | Memo sample ≈ 300 × 300 mm, or a full width held at the window | Sheerness and drape need light behind them |
| Wallpaper | Swatch | One full drop, or at least 500 mm of pattern repeat | Pattern scale is the whole decision |
| Hardware and metal finishes | Catalogue photo | The actual handle or a finish chip | PVD gold, antique brass and champagne differ more than photos show |
| Quartz / solid surface | Chip ≈ 100 × 100 mm | Largest available sample, ideally a slab photo with dimensions | Pattern scale on a 3 m counter |
How a material board should be laid out
A good material board is a small model of the room's proportions, not a neat grid of equal squares. If the floor is 40 per cent of what a person sees and the brass trim is less than one per cent, the board should show a large piece of the floor and a thin strip of brass. Equal-sized squares lie: they make a small accent look as important as the floor, and clients often approve accents that become overwhelming when built. Fig. 2 shows a typical A3 layout that keeps this honesty.
Placement matters as much as size. Samples should sit in the same relationship they will have in the room: the floor at the bottom, walls above it, the ceiling (if it is not plain white) at the top, and furniture in front. Wood next to wood is the most important adjacency, because two warm woods that each look fine alone can clash badly side by side — a yellow-toned teak laminate beside a pink-toned walnut veneer is a classic example.
Every sample should be labelled on the back with the brand, product code, finish name, thickness, supplier and the date it was collected. Laminate and veneer batches, paint tinting and tile lots all vary slightly over time; the date helps trace a mismatch later. Many studios also attach a one-page finishes schedule to the board so the client signs a list as well as a picture.
Proportion: why equal squares mislead
It is worth looking at the arithmetic of an ordinary room to see how strongly area drives perception. Take a living room of 4200 × 3600 mm with a 2850 mm ceiling. The floor is about 15.1 m². The four walls, before deducting doors and windows, are about 44.5 m² — but a person sitting on the sofa sees roughly two to three walls at once. A 3000 × 2400 mm TV wall in veneer is 7.2 m². A brass inlay strip 10 mm wide running 3000 mm long is 0.03 m². On an equal-square board the brass and the floor look equally important; in the built room one is a whisper and the other is the ground the family walks on.
The same logic explains why bold accent colours chosen from small chips so often disappoint. A saturated teal that looks charming on a 50 mm chip becomes intense across a 3000 mm wall. If a strong colour is wanted, the board should show it at the size and in the position it will occupy, and the paint should be tried as a large patch on site before the whole wall is painted.
Seeing samples in the right light
Colours change with light, and the light in a laminate gallery is rarely the light in a home. Many showrooms use cool white light of around 5000–6500 K at high brightness; homes are often lit at 2700–3000 K in bedrooms and 3000–4000 K in kitchens and living rooms, and Indian daylight varies from harsh noon glare to warm evening light. Two materials that match under one light can stop matching under another — a phenomenon designers call metamerism. It is the reason a wardrobe laminate and a matching painted wall can look perfect in the showroom and slightly wrong at home.
The practical routine is simple. Take the shortlisted samples to the actual room. View vertical materials upright and floor materials flat on the floor. Look at them in morning daylight, in evening daylight, and under a lamp of the colour temperature that will be used in that room. View from the distance a person will normally see them — 1.5 to 3 metres for most walls and shutters — not from 300 mm. Only then approve.
What the boards cost, and who pays
In most professional studios the moodboard and material board are part of the design fee rather than a separate charge, but the effort and the physical samples are real costs. Laminate and tile brands supply small samples free or for a nominal amount; large memo samples, stone pieces, wallpaper drops and fabric cuttings may be charged or need a deposit. The indicative figures below help a client understand what is reasonable to expect.
| Item | Typical approach | Indicative cost (October 2026) |
|---|---|---|
| Concept moodboard, digital, 1–2 directions | Included in design fee in most studios | Part of fee; as a stand-alone service ≈ ₹3,000–10,000 per room |
| Physical material board per room | Included in design fee or charged at cost | ≈ ₹2,000–8,000 per room for board, mounting and samples |
| Whole-home sample box (3BHK) | Assembled for final sign-off | ≈ ₹8,000–25,000 depending on stone, fabric and hardware samples |
| Large paint patches on site | Sample pots from the paint brand | ≈ ₹150–600 per sample pot, plus a painter's visit |
| Stone yard visit / slab reservation | Client and designer together | Visit free; reservation usually needs an advance against the order |
| Photorealistic 3D render using the chosen samples | Part of the design package or per view | ≈ ₹2,000–10,000 per view, consistent with typical render pricing |
The cost of skipping these steps is far higher. Replacing one wardrobe's shutters because the laminate tone is wrong can cost tens of thousands of rupees in material and labour, plus weeks of delay; re-laying a floor is far worse. A few thousand rupees of samples and a careful sign-off are among the best-value items in any interior budget.
Moodboards for different project types
The same tools work across residential and commercial projects, but the emphasis changes. In a home, the boards are about the family's taste and daily routine. In a restaurant, retail store or hotel, they also carry the brand, and they are seen by many decision-makers — owners, operators, brand managers — so clarity and labelling matter even more. In hospitality projects, studios commonly prepare a material board per room type and a separate finishes book for the contractor.
| Project type | Moodboard focus | Material board focus | Who signs off |
|---|---|---|---|
| Apartment (2–4 BHK) | Family's feeling for the home, room by room | Laminates, veneers, stone, paint, fabric, hardware | Homeowners, often both partners |
| Bungalow / villa | Overall architecture and interior character | Adds exterior cladding, flooring transitions, landscape finishes | Owners, sometimes with the architect |
| Restaurant / café | Brand, mood, lighting atmosphere | Durable finishes, upholstery rated for heavy use, easy-clean surfaces | Owner and operator |
| Retail store | Brand identity and product display | Fixtures, flooring for heavy footfall, signage materials | Brand and operations teams |
| Hotel room / suite | Guest experience by room category | Repeatable, maintainable finishes; mock-up room approval | Owner, operator, sometimes brand standards team |
| Office | Culture, focus vs collaboration zones | Carpet tiles, acoustic panels, workstation laminates | Management and facilities |
For larger commercial jobs, the material board is often followed by a full-size mock-up — one hotel room, one restaurant booth, one office bay — built with the approved materials. A mock-up is simply the material board at 1 : 1 scale, and it is the most reliable approval method available.
Where boards are going: AI, digital twins and real samples
Software has changed how moodboards are made. AI image tools can generate a dozen mood images for a direction in minutes, and many studios use them to explore options early. Product libraries from manufacturers allow digital material boards with exact codes, and 3D software can apply scanned textures to a model of the client's own room. Virtual reality walkthroughs let clients stand inside a scheme at true scale.
These tools are genuinely useful for speed and exploration, but they have limits. AI images often show materials that do not exist or cannot be built, and no screen reproduces gloss, texture, weight or the way a stone feels underfoot. The likely future is a hybrid: digital boards and renders for direction and options, and a smaller number of carefully chosen physical samples for final approval. Studios that keep that discipline will continue to avoid the gap between the picture and the built room.
Rules for moodboards and material boards
- Start with words: write the one-line idea of the space at the top of the moodboard and judge every image against it.
- Show two moodboard directions, not one, and ask what exactly the client likes in each image.
- Never order from a chip: approve laminates and veneers at A4 or larger, paint as a 600 × 600 mm patch on the real wall.
- Lay out the material board in proportion — large floor and wall samples, small accents — not as equal squares.
- Put woods next to woods and metals next to metals; check undertones side by side.
- View samples in the actual room, upright or flat as installed, in daylight and under the planned lamp colour.
- Label every sample with brand, code, finish, thickness, supplier and date, and keep a signed finishes schedule.
- Keep the approved physical samples for site checks; compare every delivery against them before installation.
- For commercial projects, add a full-size mock-up before bulk ordering.
Frequently asked questions
What is the difference between a moodboard and a material board?
A moodboard shows the intended feeling of a space using images, colours and textures that may come from anywhere. A material board shows the specific products that will be used — laminates, stones, paints, fabrics and hardware — with codes, so they can be ordered. The first sets the direction; the second commits to it.
Should the client make the moodboard or the designer?
Clients are encouraged to collect images they like, and those collections are very helpful. But the moodboard itself is best edited by the designer, who can find the common thread, remove conflicting references and check that the direction suits the home's light, size and budget.
How many samples should a material board have?
For one room, typically 8 to 15 items: floor, walls, ceiling if not plain, main joinery finish, one or two secondary finishes, countertop if any, upholstery, curtain, rug and one or two metal finishes. More than that usually means decisions have not been made yet.
Why does my laminate look different at home than in the showroom?
Three reasons are common: the showroom light is cooler and brighter than home lighting; the chip was too small to show the colour's strength over a large area; and the surrounding colours at home are different. Viewing an A4 sample in the actual room under daylight and the planned lamp avoids most of this.
Is a digital moodboard enough?
For direction, yes. For final approval of materials, no — screens change colour, and texture and gloss do not translate. Use digital boards early and physical samples for the final sign-off.
Sources & standards
- Bureau of Indian Standards — IS 2046 (decorative thermosetting synthetic resin bonded laminated sheets), IS 15622 (ceramic tiles — specification), as product references for samples
- National Building Code of India 2016, Part 8 (Building Services — lighting and natural ventilation) for daylight and artificial lighting context
- Neufert Architects' Data — interior surfaces, colour and lighting chapters
- Time-Saver Standards for Interior Design and Space Planning — finishes and specification practice
- Leading Indian paint, laminate and tile manufacturers' guidance on large-area colour effect and on-site sample patches, described generically
- Price ranges: indicative October 2026 estimates — confirm locally before budgeting